
How to Set Up the Rotary Attachment with Slide Extension on Lumos Ultra
July 20, 2026
Before you begin, make sure:
- Your Lumos Ultra is powered off and unplugged.
- You have a clean, flat work surface.
- All required components (slide extension, mounting base, rotary attachment, screws, and cables) are within reach.
1. Preparation and Disassembly
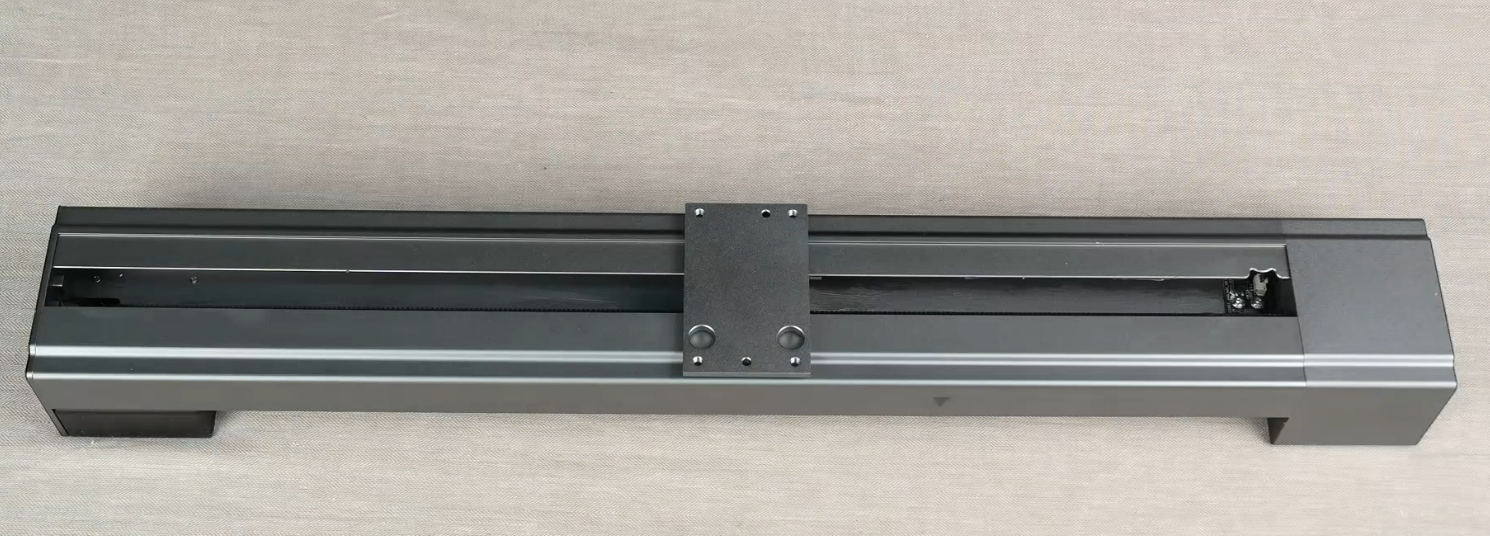
- Remove Center Screws: Use a Phillips screwdriver to remove the four screws located in the center of the slide extension working panel. Set the screws aside in a safe place.
- Remove Panel: Carefully lift and remove the main working panel to expose the slide extension’s internal rail system. Place the panel in a clean, safe area to avoid scratches or damage.

2. Mounting the Rotary Base
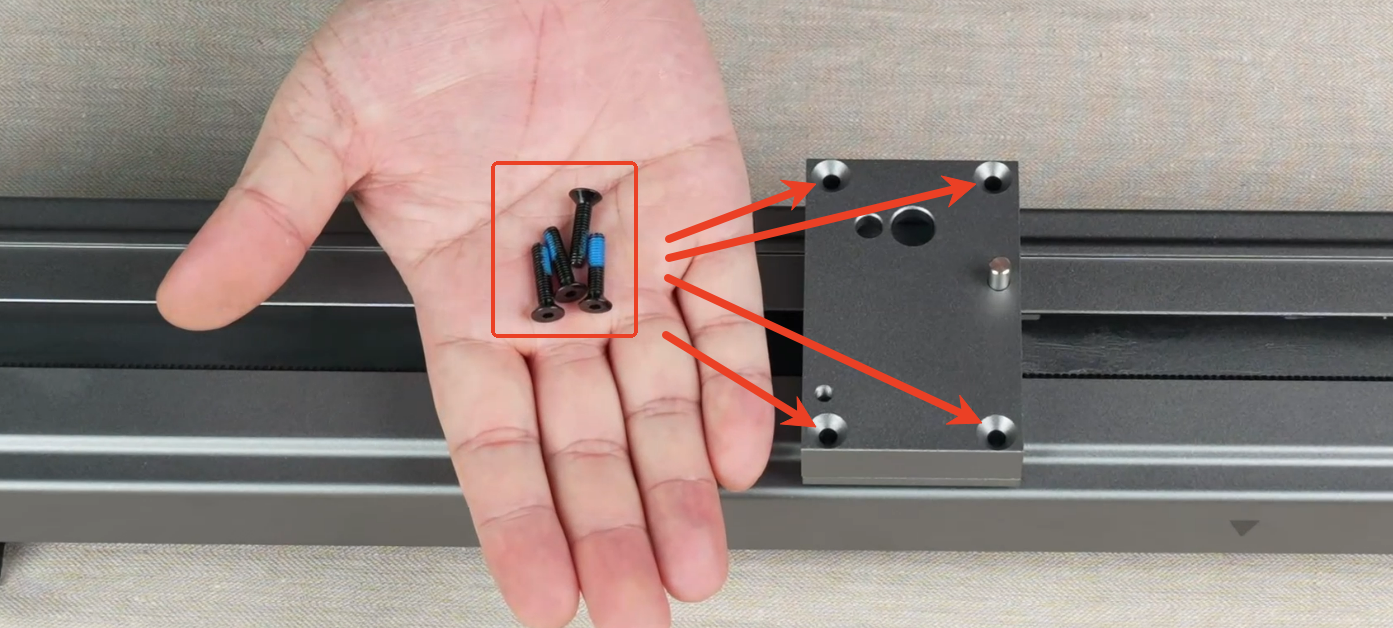
- Align Mounting Base: Position the mounting base onto the slide extension rail. Make sure it aligns perfectly with the pre-drilled screw holes on the rail.
- Secure the Base: Use the four long screws provided to fasten the mounting base to the rail. Tighten them securely using a screwdriver to prevent any movement or wobbling during operation.


3. Attaching the Rotary Unit
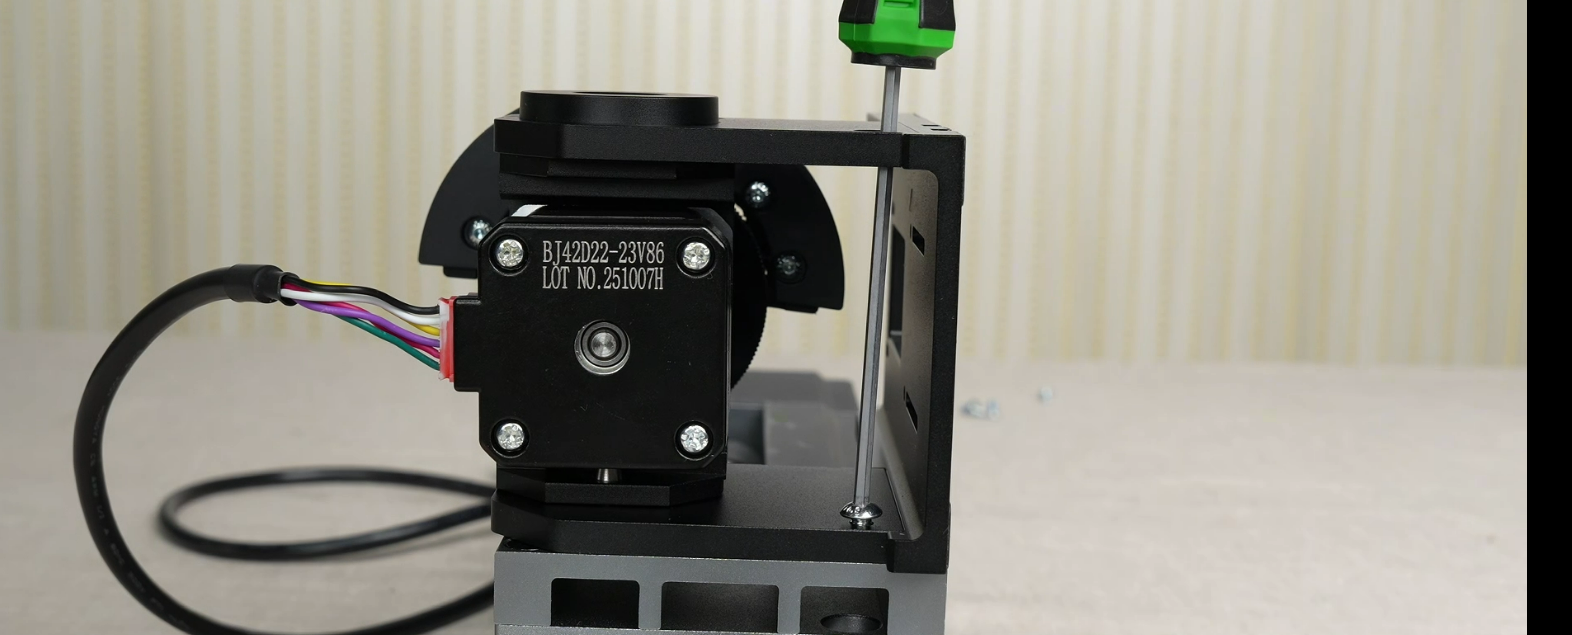
- Position Rotary: Flip the rotary attachment over and align it with the locating pin on the mounting base you just installed.
- Secure Rotary: Insert a screw into the left-side hole and tighten it.

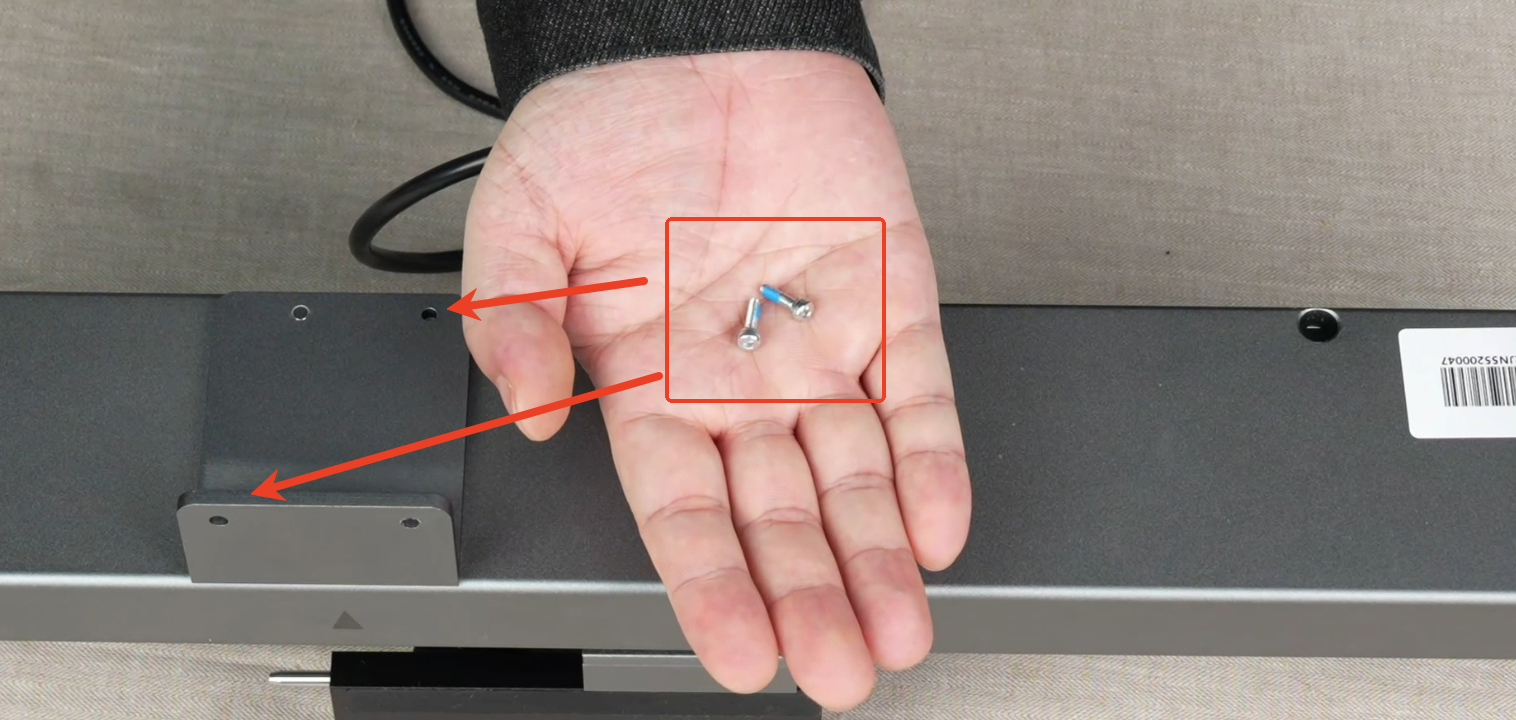
- Turn the slide extension over and align the screw holes and insert the L-shaped bracket.
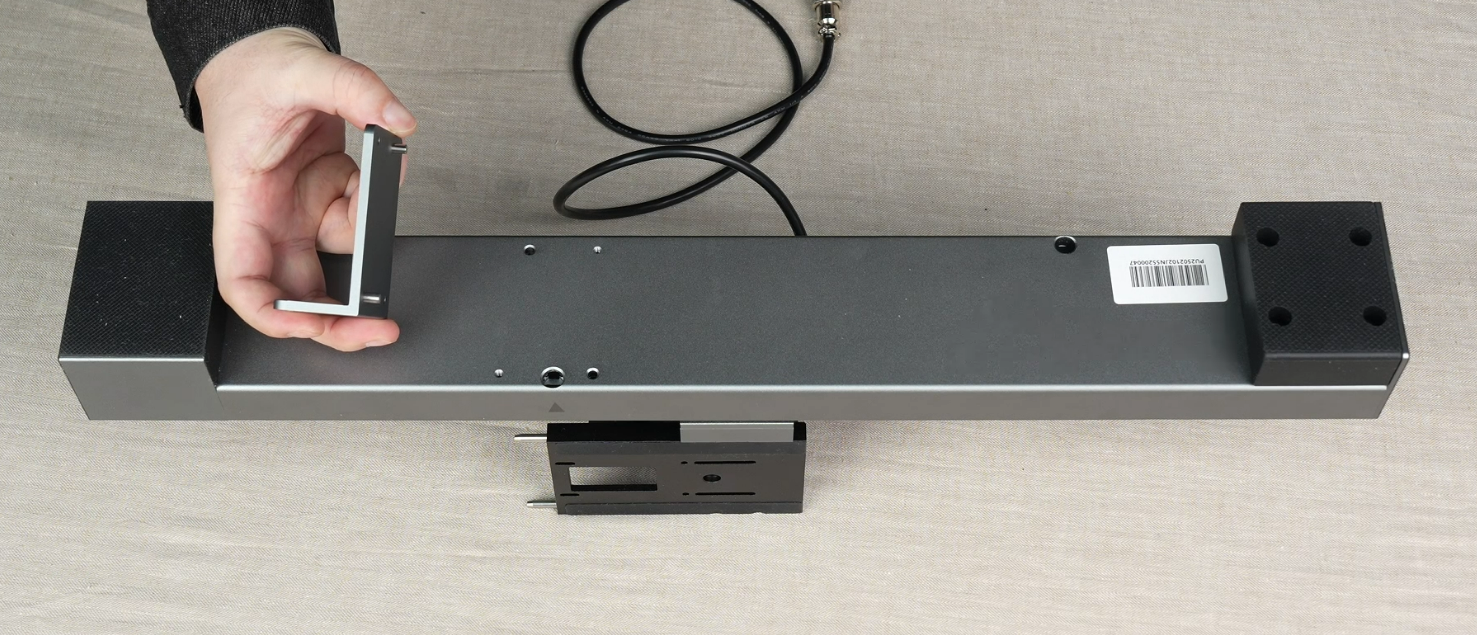
- Secure it with screws.
4. Connection to the Lumos Ultra
- Position the Slider: Place the entire slide extension assembly onto the machine’s base. Align the screw holes and fix the slider with screws.
- Connect Cables:
- Plug the rotary motor cable into the Rotary port on the back of the machine.
- Use the other cable to connect the slider to the machine, then plug the remaining end into the Slider port on the back of the machine.
- Plug the rotary motor cable into the Rotary port on the back of the machine.
- Use the appropriate jaws to hold the object you want to engrave.
- Power and Data:
- Turn on the power switch on the back of the machine.
- Connect the USB cable from the machine to your computer to establish a software connection. For best results, use a direct USB port on your computer.


5. Software Initialization
- Select Mode: In the WeCreat MakeIt software, go to the mode dropdown menu and select “Auto slider + Rotary”.
- Initialize: Click the Initialize button. The slider will move to its home position. Wait for the movement to stop completely before proceeding.
- Refresh Canvas: Click Refresh to update the camera view. The software should now display the current working area, including your material in the correct position on the canvas.
- Turn the silver knob on the side of the machine until the two red dots converge and overlap perfectly into a single dot on the surface of the material.


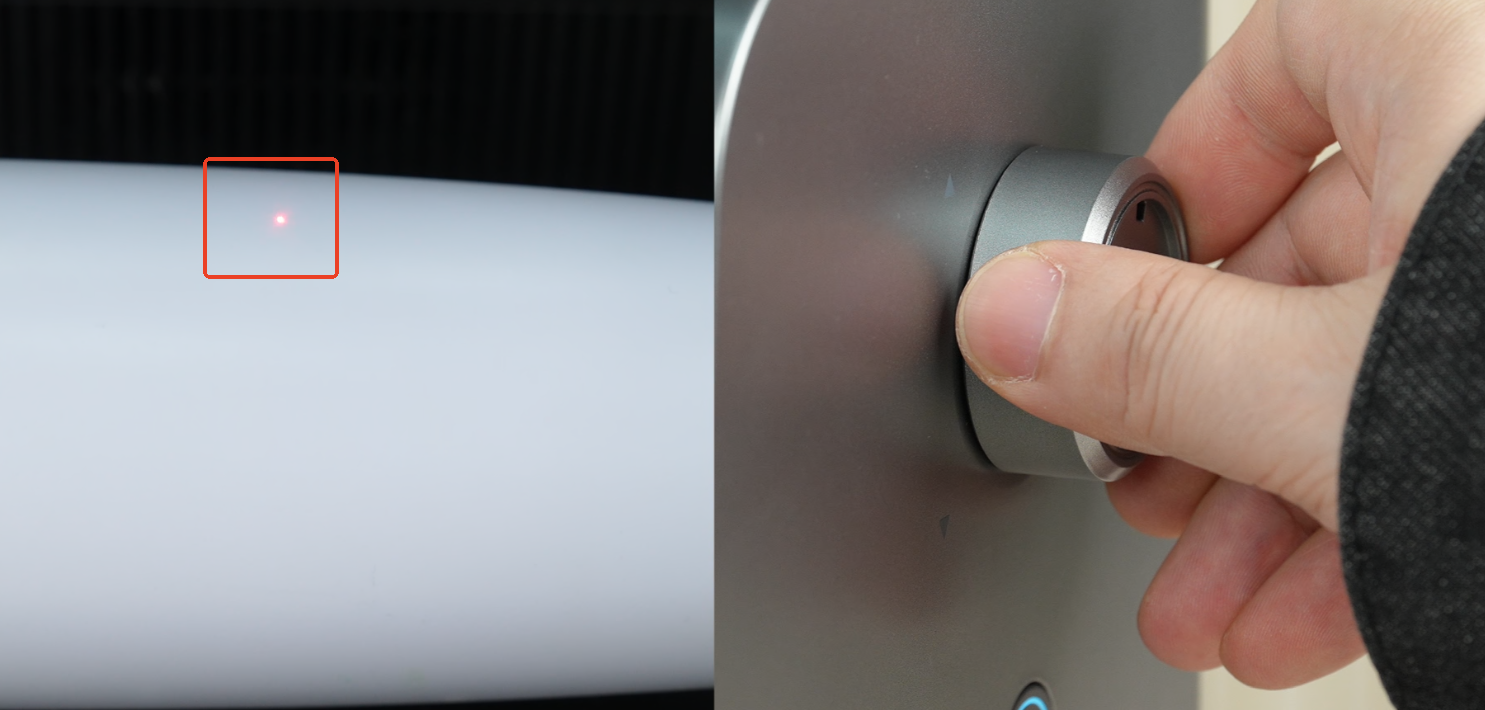
- Import the design, input the circumference and parameters, and start engraving.