How to Use the Slide Extension with Lumos Ultra
Step 1: Unboxing & Inventory
Before starting, ensure all components are present:
- Main Components: Slider unit, L-shaped bracket, and Mounting base.
- Accessories: Connector cables, Cable clamp, Grease, Screwdriver, and screws.
Step 2: Internal Component Preparation
- Clear the Deck: Ensure the machine is powered off. Remove any materials currently inside.
- Install Base Studs: Screw the positioning pins into the pre-drilled holes on the working panel.
- Position the slide extension: Turn the slide extension over and align with the bottom screw holes.

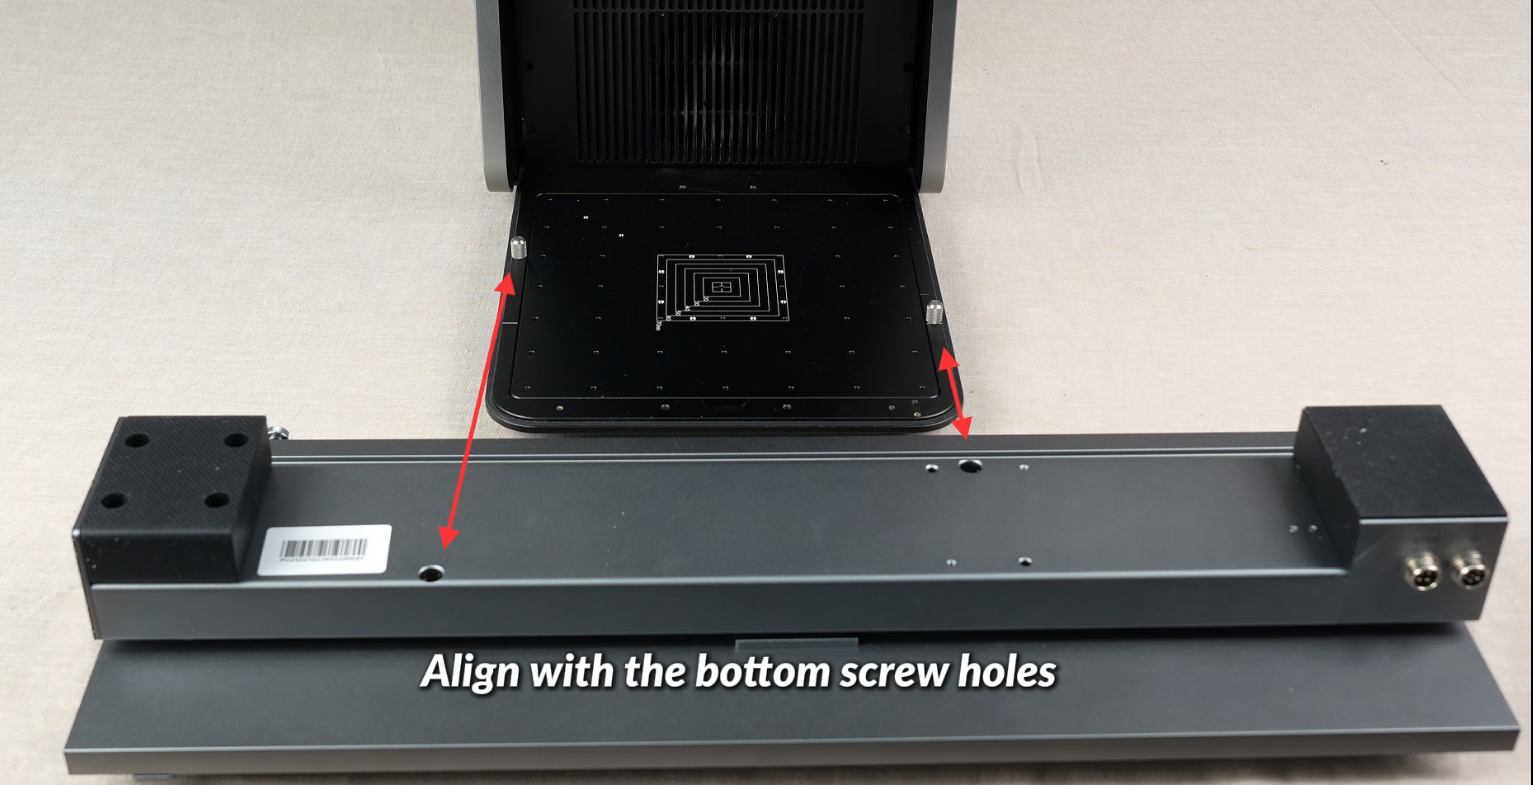
- Place the slide extenion and make sure the positioning pins fit correctly into the bottom screw holes.
Step 3: Connect the Slider to the Machine
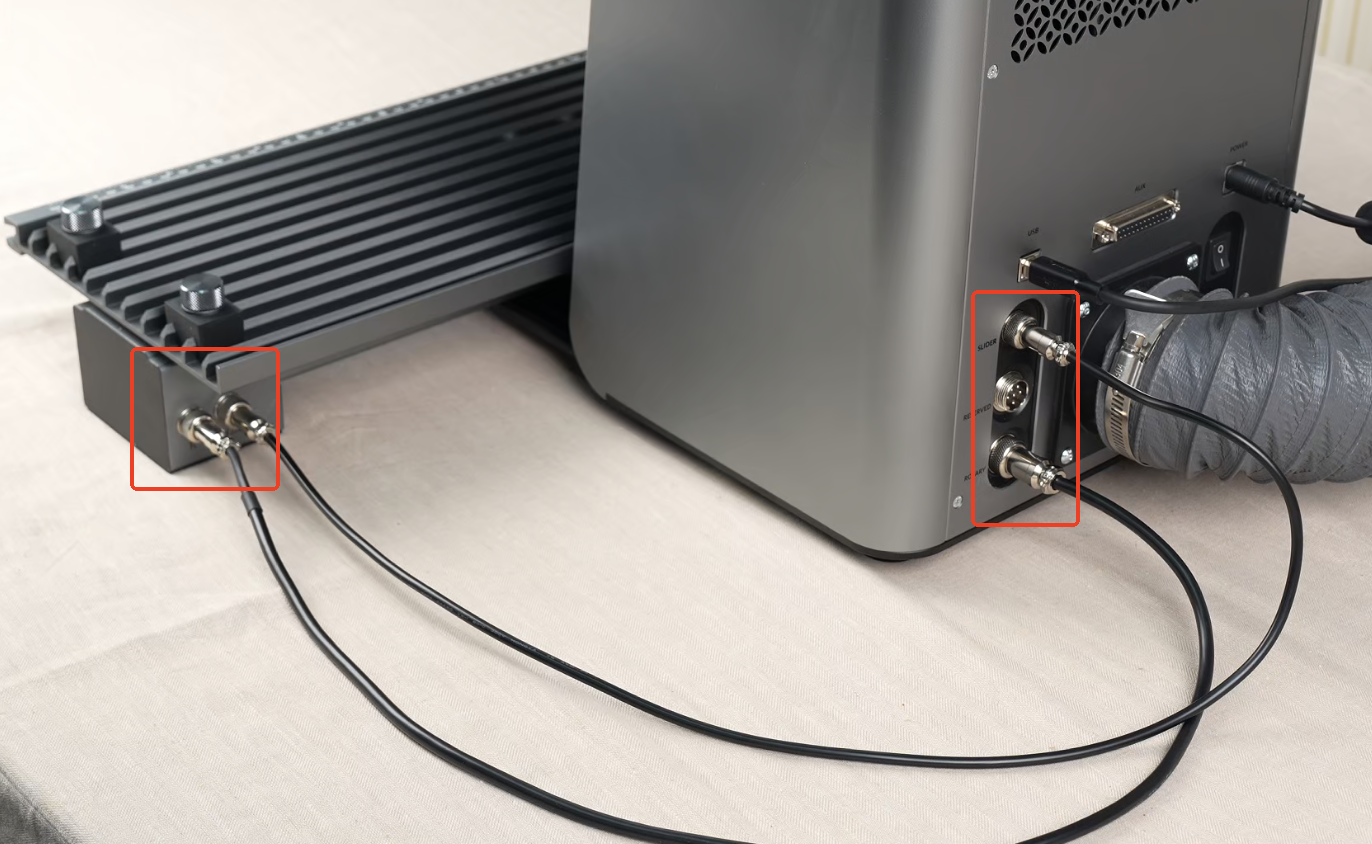
- Connect cable: Connect the provided cables to both the Slide Extension and the Lumos Ultra.
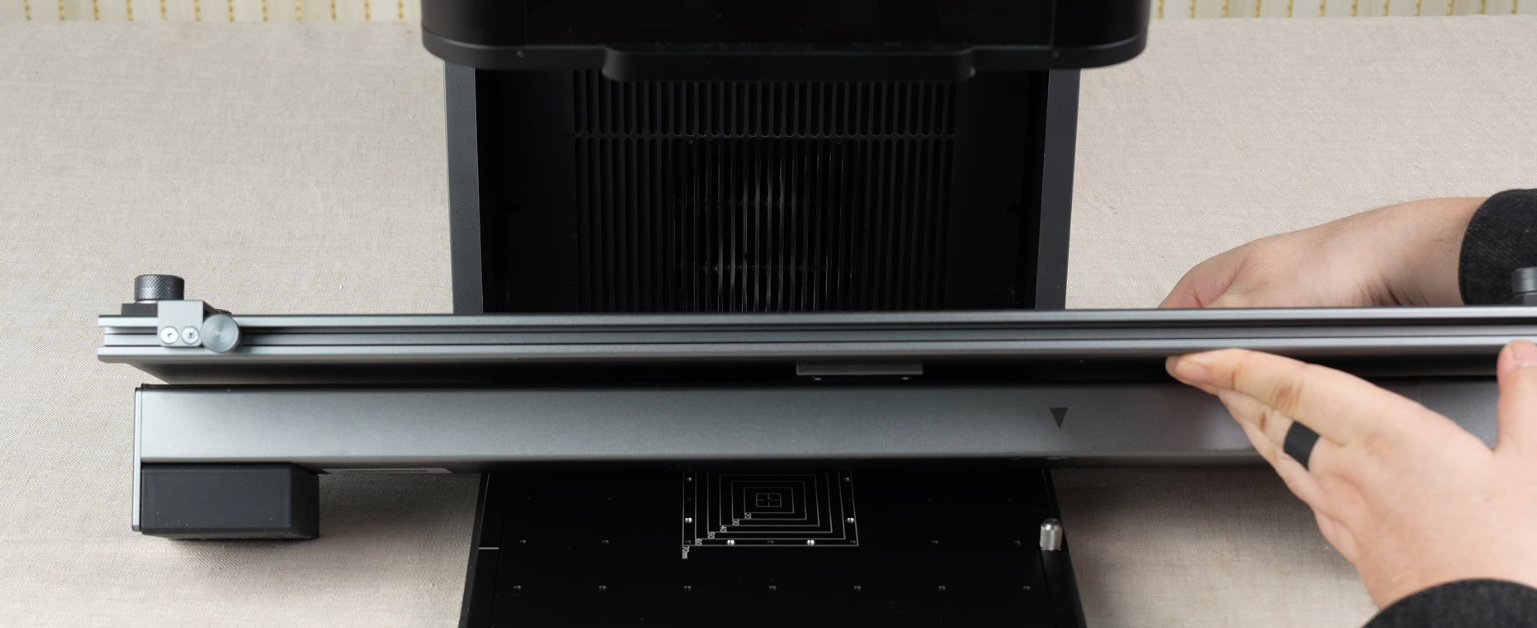
- Loosen the four material clamps and remove the ruler.
- Place the wooden board, secure it firmly with the four clamps, then reattach the ruler.

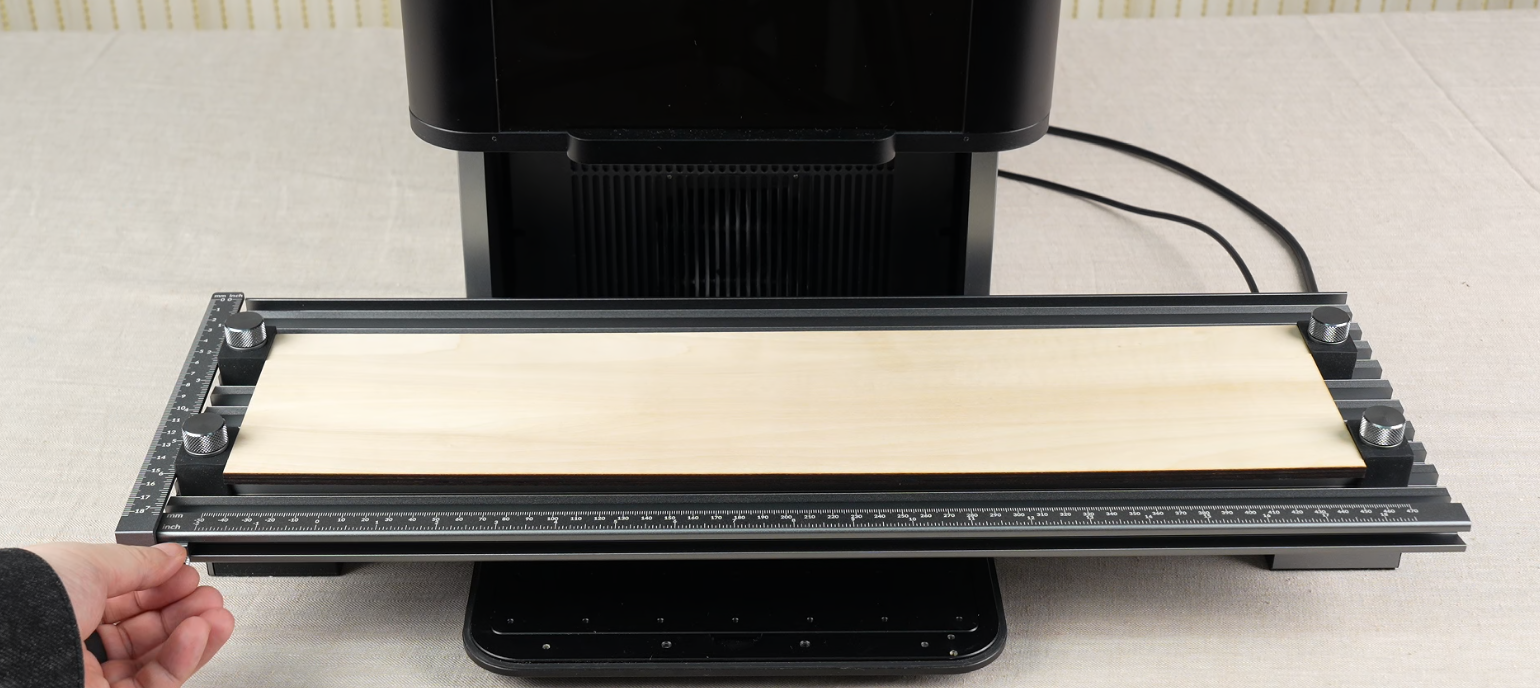
Step 4: Software Configuration and Engraving
- Power On: Turn on the Lumos Ultra connect the machine to your computer via USB.、
- Launch Software: Open the WeCreat MakeIt! software and click “New Project”.
- Select Working Mode: Click the mode dropdown menu (typically set to “Laser Flat”) and select “Auto Slider”.
- Initialize: Click “Initialize” in the software. This aligns the canvas coordinates with the physical position of the slider.
- Set Focus: * Click “Refresh” in the software.

- When prompted, turn the focus knob on the side of the machine manually until the two red positioning dots on the wood board perfectly overlap.
- Click “Confirm” in the software once focused.
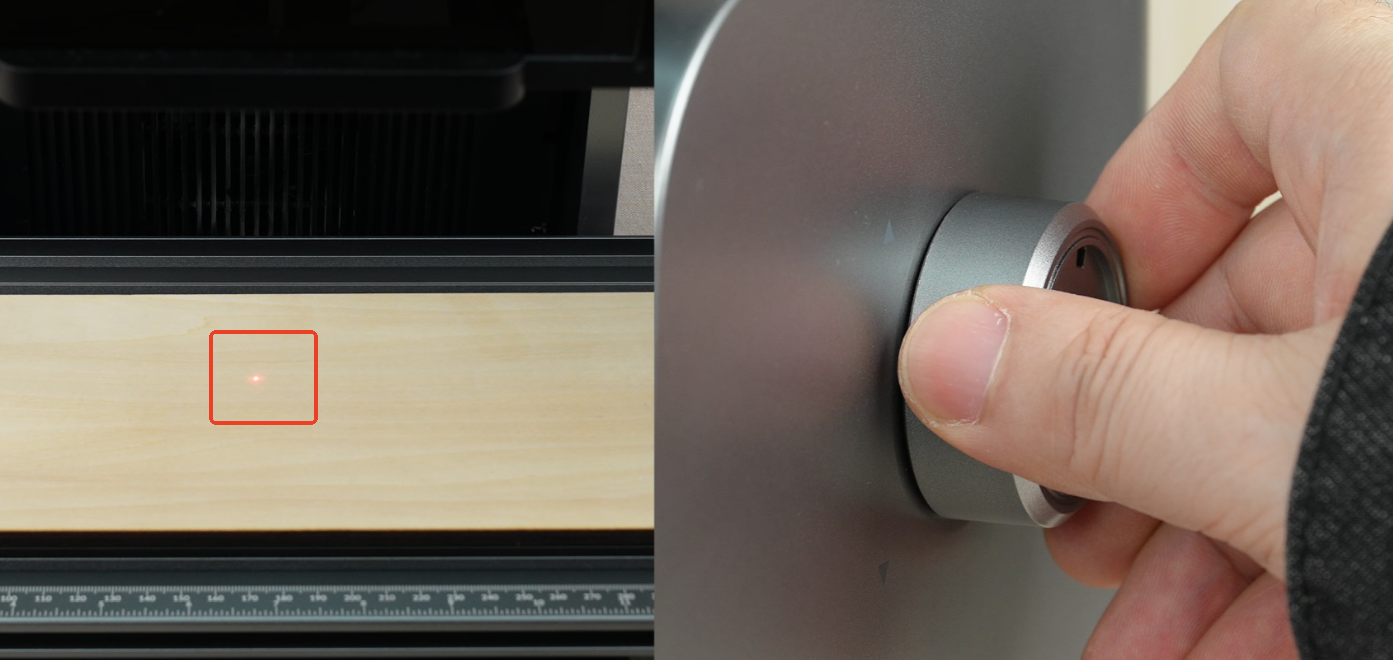
- Import Design: Import your desired design file.Note: The XY coordinates on the canvas correspond precisely to those on the slider.
- Set Parameters
- Framing: Click the “Framing” button. The laser will trace the outline of the test area on the wood board.
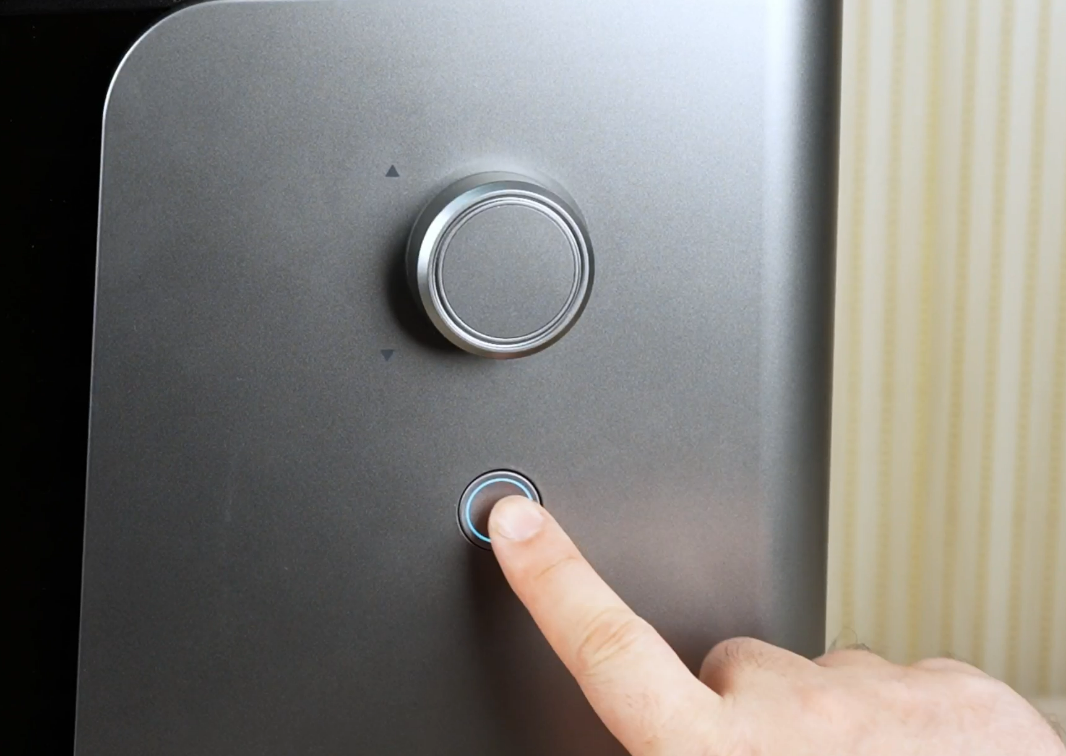
- Start Engraving: Click “Start” in the software, then click “Send”. Then press the physical Start button on the Lumos Ultra to begin engraving the test grid.